
Before you start
Prepare an enabled NexusAPI key, the exact model ID available to its group, and the correct endpoint. The API and model capability matrix explains why a model visible on the site may still not fit a given protocol.Install CC Switch
macOS
Windows
Download the.msi package from official releases and follow its installer. A portable .zip is also available: extract it, then run the application.
Linux
Download the suitable.deb or .AppImage file from official releases. Arch Linux users can use the community-maintained AUR package:
Add a provider
Open Provider management → Add provider, select the target app, enter the fields below, save, switch to the new provider, and restart the CLI. Interface labels can change between CC Switch releases; the endpoint, key, model, and protocol remain the important values. The complete flow is: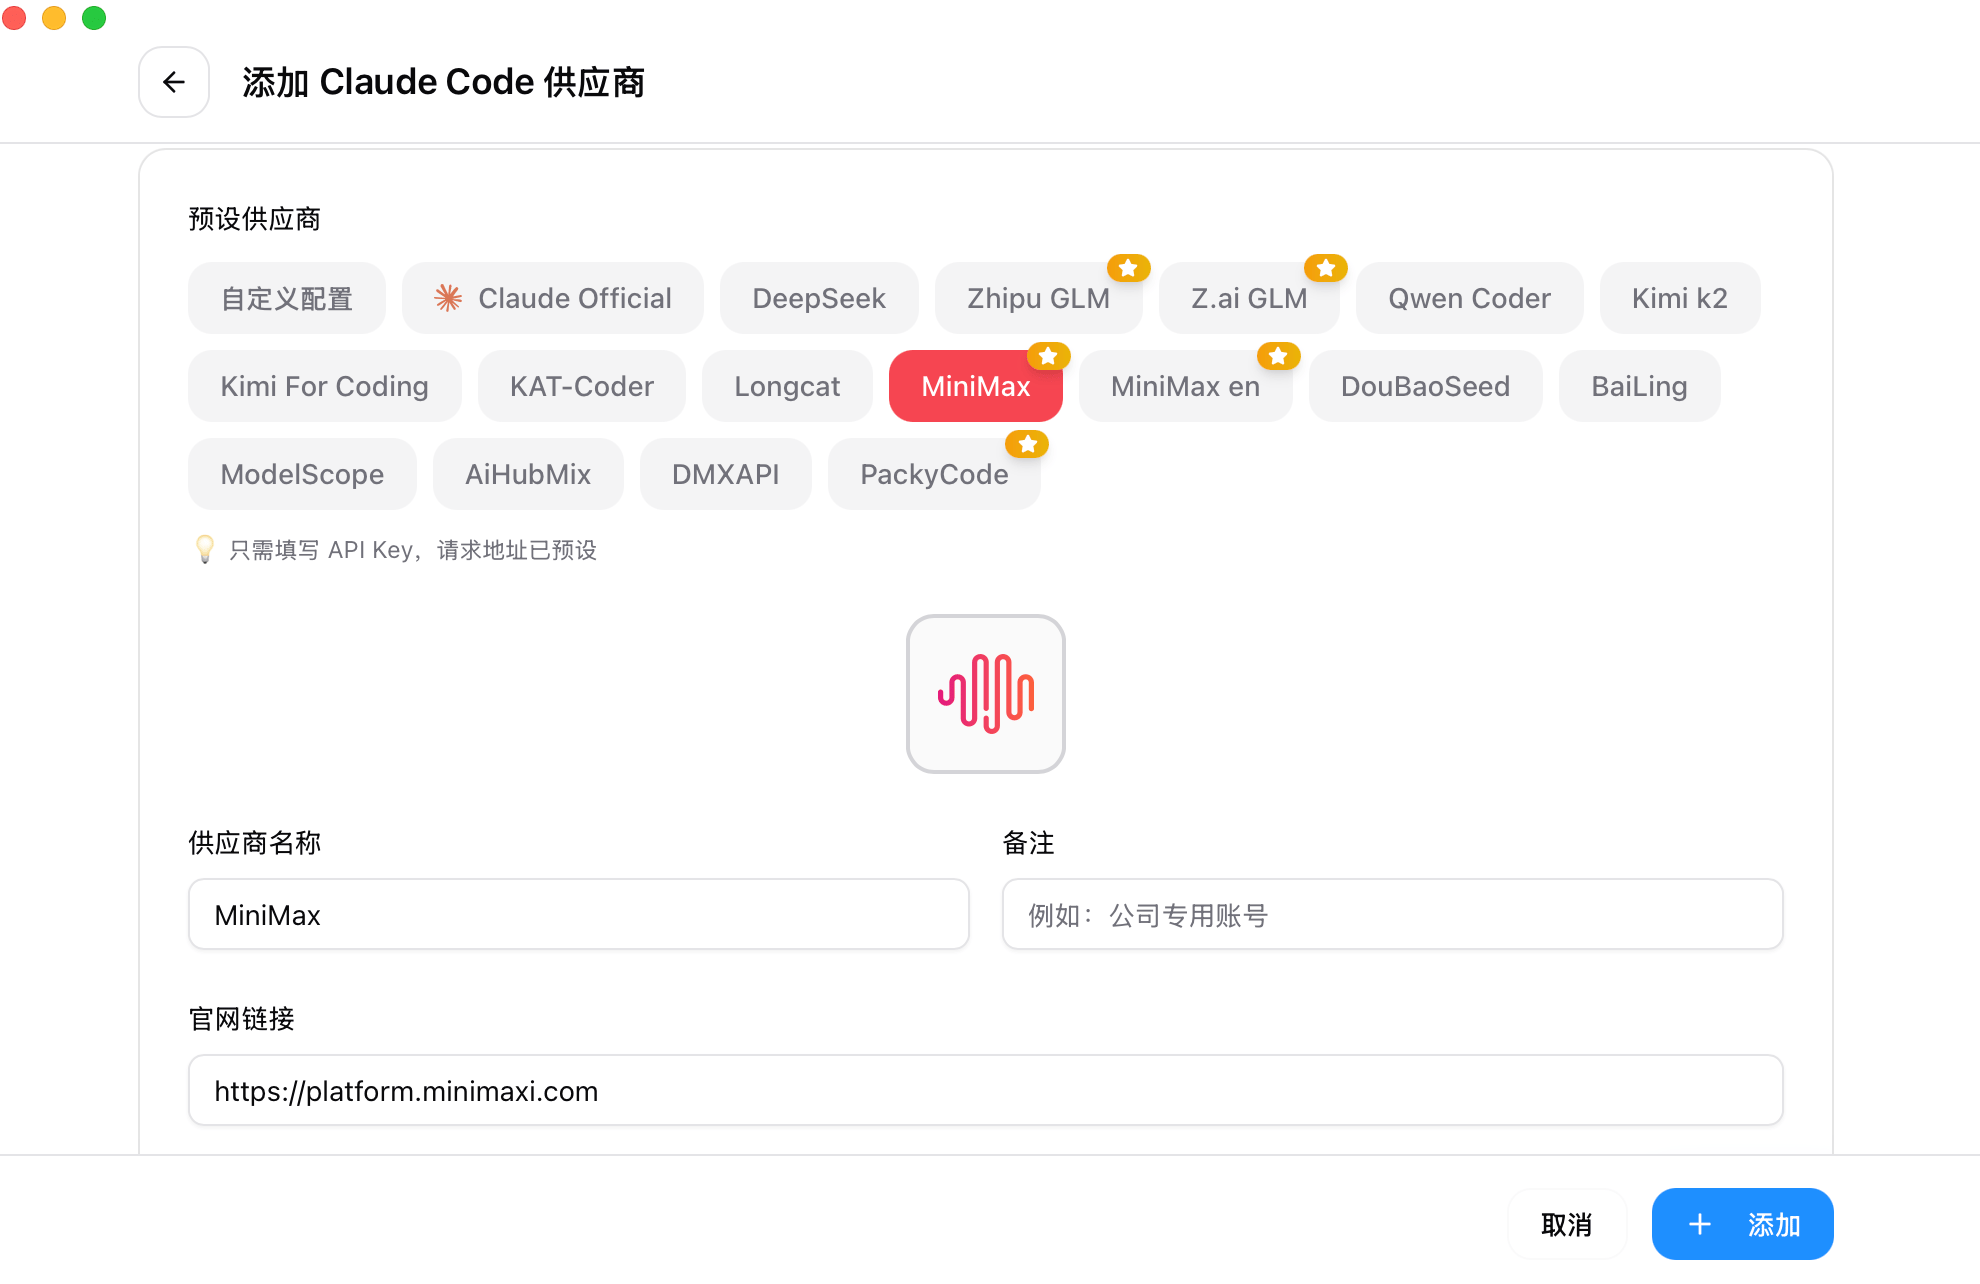
Image from the CC Switch official repository, used under its MIT License. The other providers shown are examples only; choose the custom configuration for NexusAPI.
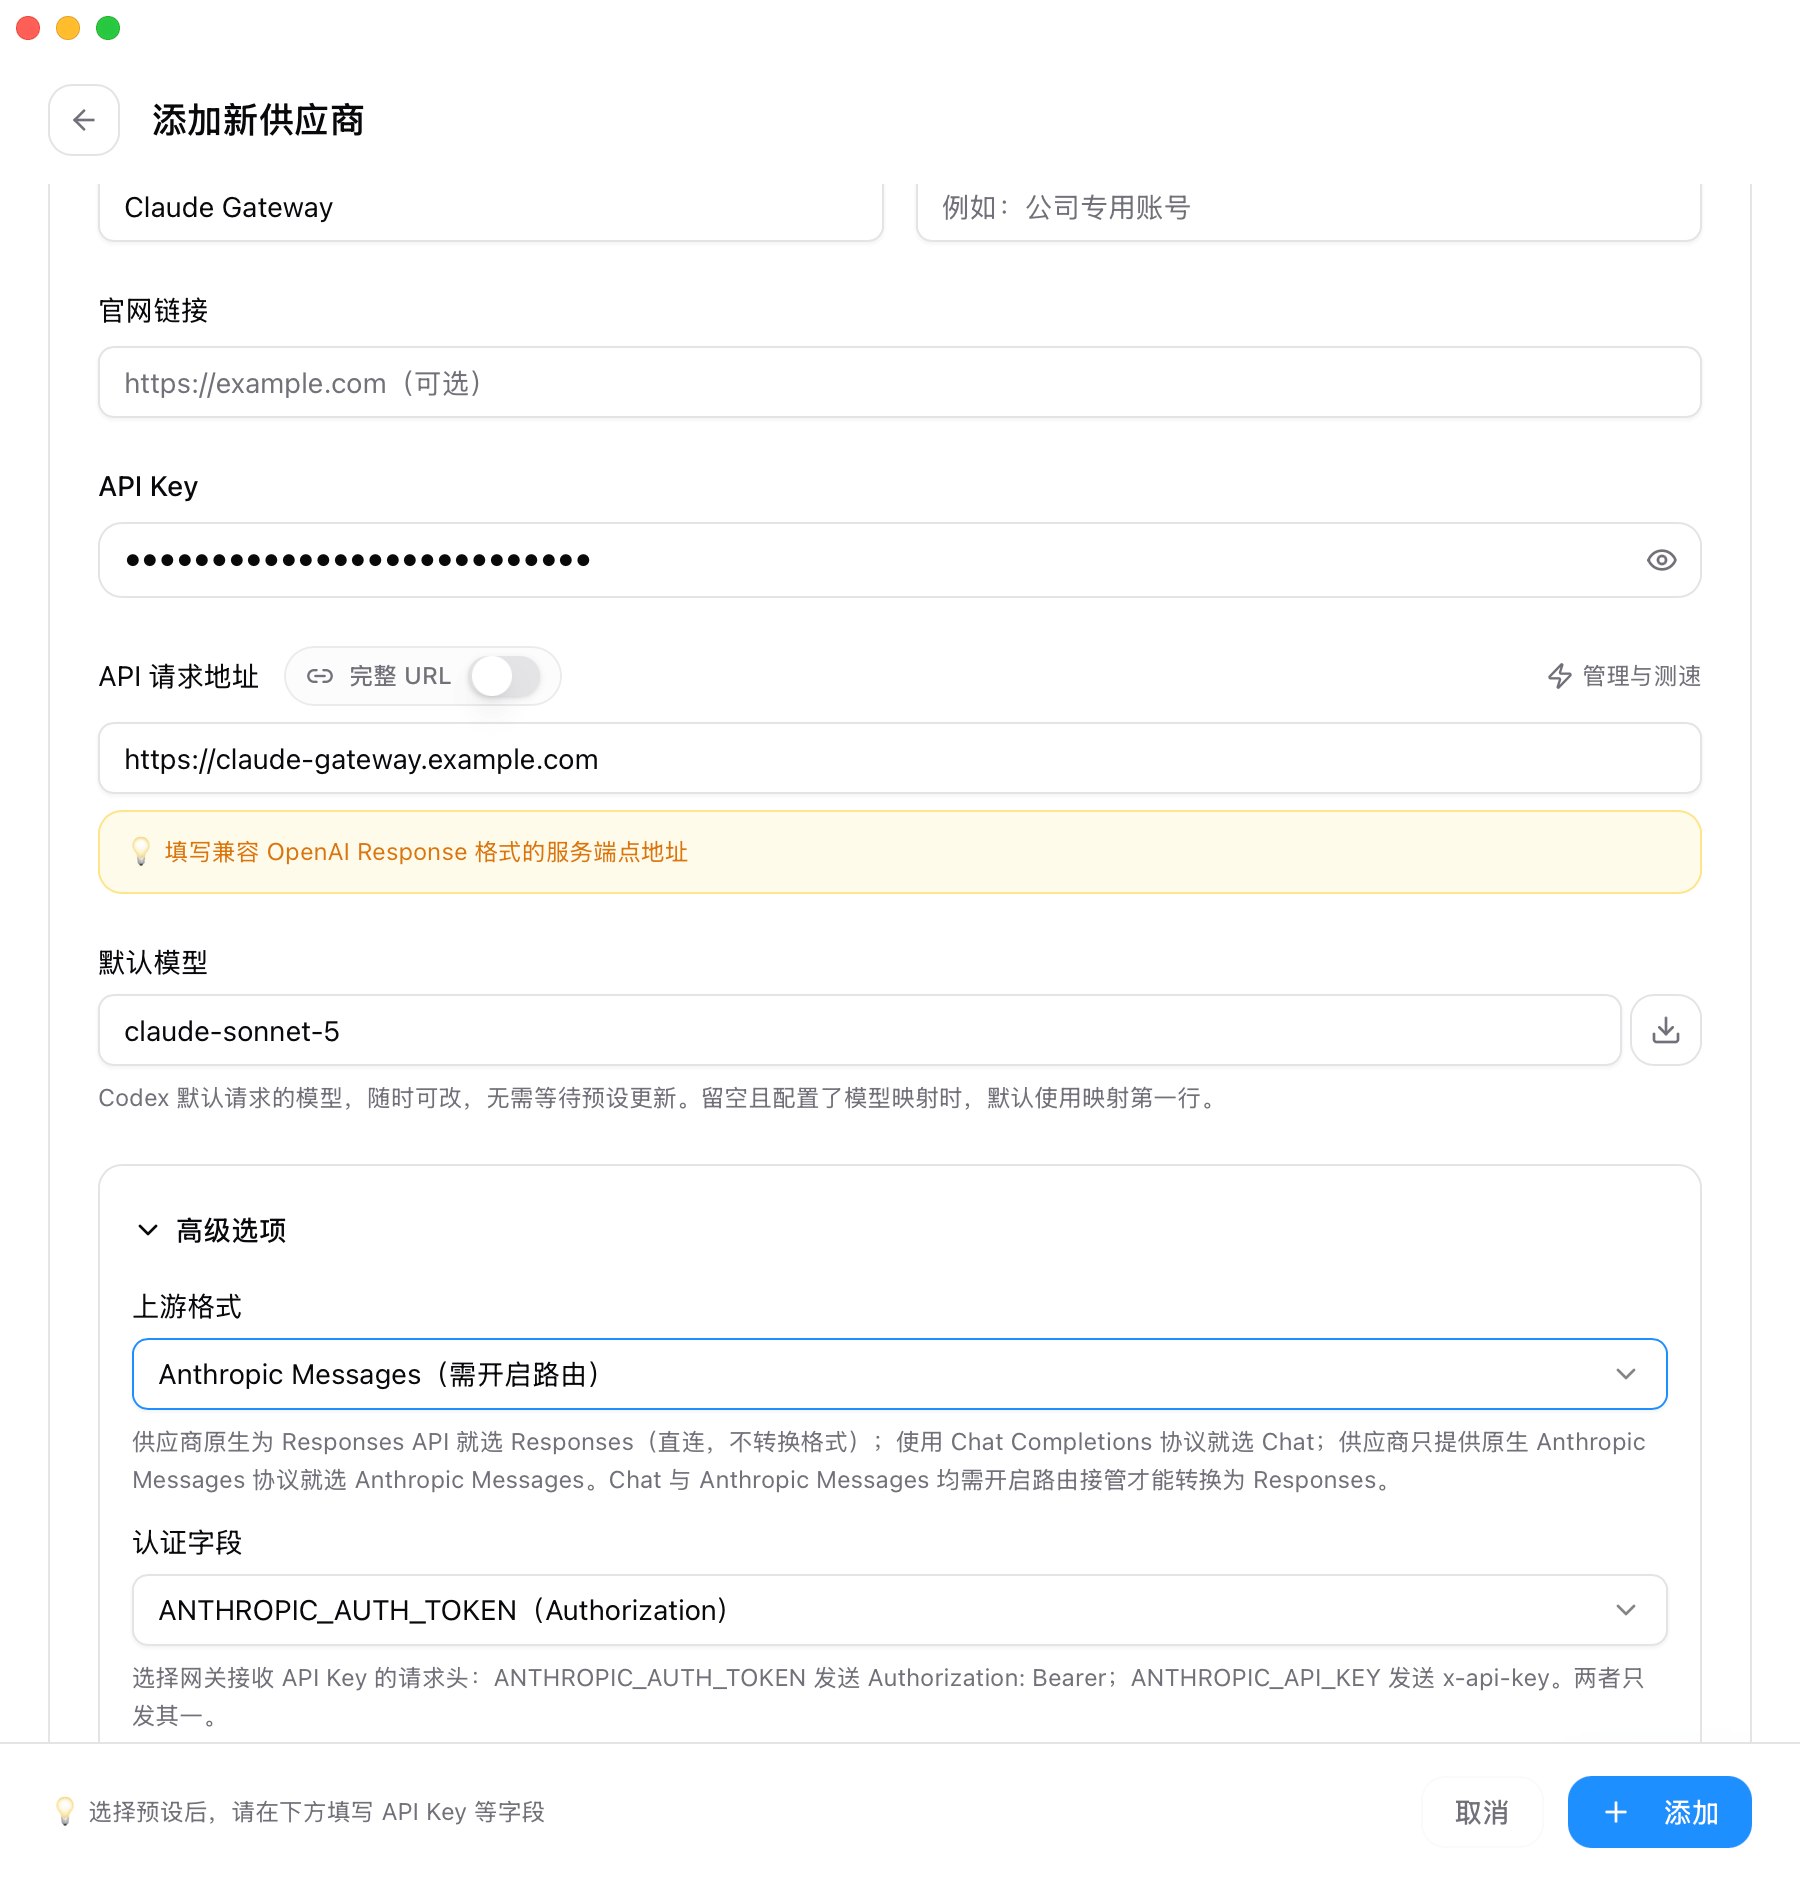
This is an example form from the CC Switch repository. Its URL, model, and gateway name are interface examples only; use the NexusAPI values in the tables below.
Claude Code provider
Optional Haiku, Sonnet, and Opus model fields can be left empty, or filled with an available lightweight / Sonnet / Opus model. For a minimal provider, use:
/v1 to the Claude endpoint. After switching providers, open a new terminal and run:
/status and then send a short message:
Codex provider
For a minimal provider, use:
/v1. The model must be available to the selected key. After switching providers, run:
Confirm the current model list
Use the selected key to see only models it can access:data[].id. Choose an anthropic-capable model for Claude Code, and an openai-response-capable model for Codex.
Endpoint rules by tool
When in doubt, use this table rather than a value copied from another client.
If it does not work
It still calls the official address after switching
- Confirm that the NexusAPI provider is selected in CC Switch.
- Close and reopen the terminal after switching.
- Check whether a local configuration of the target CLI overrides the settings written by CC Switch.
The API key is invalid
Check that the key was created in NexusAPI Token Management, is enabled, has not expired, has sufficient account credit, and is not blocked by a model restriction. Copy the key exactly; do not add or guess a prefix.The model is unavailable
Check the token group, any model restriction, and the/v1/models output for the same key. If the model is not in that response, do not repeatedly edit CC Switch; use a visible model or contact support with the model name and Request ID.
Claude Code asks you to run /login
Do not sign in to an official Claude account for this NexusAPI provider. Switch back to the NexusAPI provider in CC Switch and restart the terminal. Use the provider configuration, not Claude Code’s official login, for the gateway key.
Recommended workflow
- Add the provider manually in CC Switch.
- Use
/v1/modelswith the selected key to identify usable models. - Verify with a short request before a complex task.